🚌 Are Camper Van Electrical Systems Overcomplicated?
"Looking at electrics in camper vans, these seem overly confusing and very technical. Is there no simple and effective way to create a system like Victron using Home Assistant?" This is something I’ve been looking at for some time!
This post has become from me looking at smart vans, so yes I’m looking for a cost effective system but I also understand to get the look feel I want it will not look to be budget friendly, so I will be looking at both sides, simplicity might go out the window or it could be the best rabbit hole I’ve ever gone down.!
You're not alone in feeling overwhelmed by camper van electrical systems. Between batteries, solar, inverters, and complicated brand ecosystems like Victron, it can all seem like something only an engineer could set up. But the good news? Yes, there is a simpler, cost-effective way to get a smart, functional system — even one that integrates with Home Assistant. Might incorporate more work for the savings. Including some software creation.
Let’s break it down. Before that remember I’m no professional, I’ve just spent many hours looking at systems, I’m curious and looking for other options that are tidy, neat and have a single user face. Check out my previous electrical post where you can find a link to our Van Build Buddy
🔋 The Core Power System — Keep It Simple
To power your camper van safely and reliably, you need just a few essential components:
| Component | What It Does | Budget Option |
|---|---|---|
| Battery | Stores your energy | 12V LiFePO4 battery |
| Solar + MPPT | Charges your battery from the sun | Renogy 20A+ MPPT |
| Inverter | Converts 12V to 230V/120V for AC devices | Giandel or Renogy |
| Fuse Panel | Distributes and protects your circuits | Blue Sea or similar |
💡 Keep wiring tidy, fuses properly rated, and make sure your inverter matches your power needs.
🧠 Adding Smart Features — The Home Assistant Way
You don’t need a Victron setup to monitor and control your system. With a low-cost ESP32 board and some sensors, you can replicate many Victron features in Home Assistant. Read more information about the ESP32 Board and alternatives (must read)
You’ll Need:
-
ESP32 board (~£10)
-
INA219 or INA260 sensor (for current and voltage)
-
ESPHome (easy firmware for ESP32)
-
Home Assistant (installed on a Raspberry Pi or mini-PC)
💡 These let you track real-time:
-
Battery voltage and amps
-
Solar input
-
Power draw
-
Temperatures (fridge, battery, air)
All viewable on your phone or tablet via Home Assistant.
🔌 Smart Control — Automate Your Van Life
Want to turn off the fridge when the battery gets low? Auto-activate your fan if it gets too hot? Here’s how:
Use:
-
12V Relays or MOSFETs (for switching)
-
ESP32 pins (to trigger switches)
-
Automations in Home Assistant (based on voltage, temp, time)
📲 You can even control your lights, pump, or inverter from your phone or a wall-mounted tablet — no Victron required.
🛠 Example Setup: Simple + Smart
Here’s what a minimal smart van setup might look like:
-
Battery: 200Ah LiFePO4
-
Charging: 200W solar panel + MPPT controller
-
Distribution: 12V fuse panel
-
ESPHome Node: Monitors voltage & current, controls relays
-
Dashboard: Home Assistant shows power, solar, and lets you switch things on/off
Optional: Add GPS, Bluetooth speakers, or even camera feeds — all accessible in one Home Assistant dashboard.
🧾 Optional Prebuilt Helpers
If DIY wiring isn’t your thing but you still want smart features:
-
Victron SmartShunt: Monitors your battery with Bluetooth (no full Victron setup needed)
-
Renogy One Core: A semi-smart monitor with app support and easier setup
-
Plug-n-play switch panels: Prebuilt 12V distribution with touch switches
🧯 Final Thoughts
So, is there a simpler and effective way to build a Victron-like electrical system using Home Assistant?
Yes — you can build a clean, powerful, smart setup with off-the-shelf components and open-source tools like ESPHome and Home Assistant. It won’t just save you money — it puts you in control of your van, your data, and your upgrades.
Let me know if you’d like:
-
A wiring diagram
-
A sample Home Assistant dashboard
-
Shopping list with links
-
ESPHome YAML templates
I can help turn this into a step-by-step guide tailored to your van setup and comfort level.
📚 Further Reading & Next Steps
Want to go deeper or get hands-on with your setup?
Here are essential resources to help you:
-
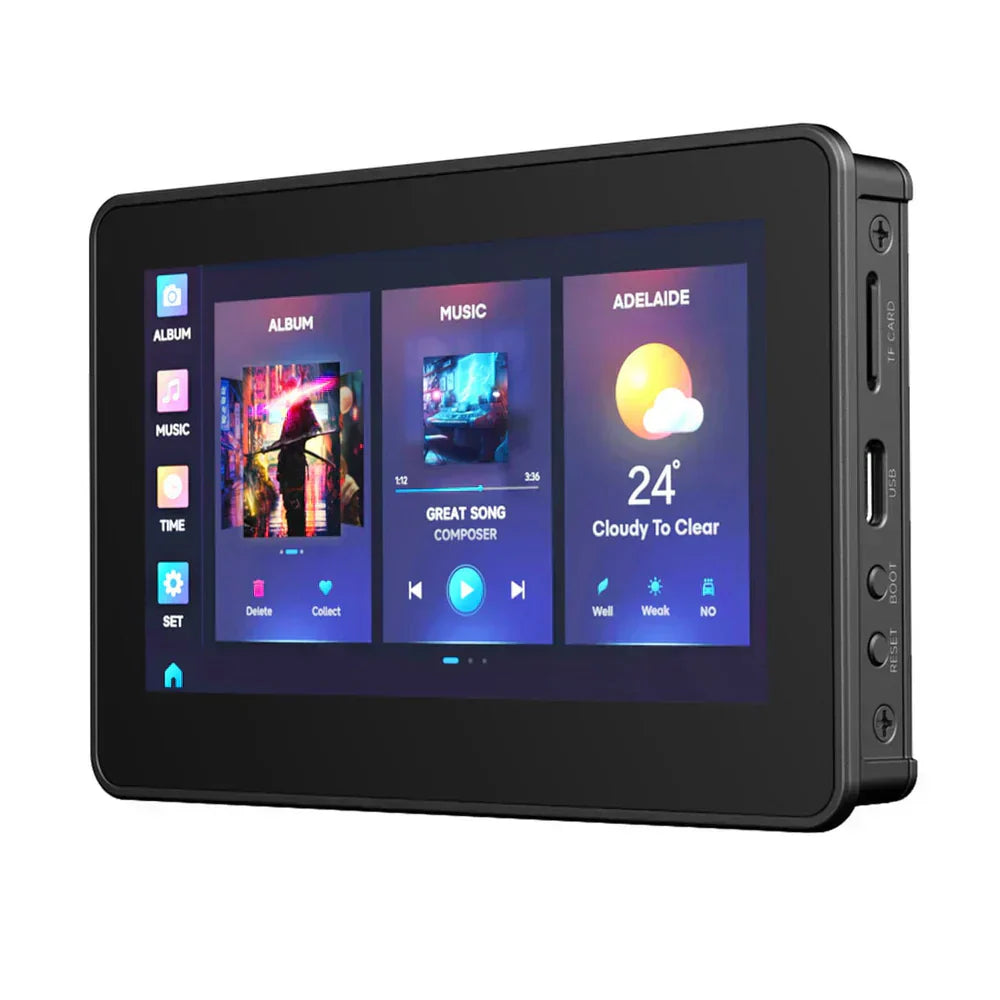
Set up the ESP32-S3 display interface using ESPHome
-
Connect voltage/current sensors like INA219 or INA260
-
Learn how to customize a Home Assistant dashboard for tablets
-
Safely wire and power your system in a 12V camper van environment
👉 Click here for the full Further Reading Guide →
Whether you're building your first smart van or refining your dashboard, these resources will help you build smarter and safer — with confidence.