Campervan Insulation, Vapour Barriers & Soundproofing Guide
If you’re converting a van, you’ve probably wondered: Do I really need insulation or a vapour barrier? Can I just carpet the metal and move on? While going bare-bones might save time, it can cost you in comfort, rust damage, and road noise down the line. This is always a debate and this is my overall picture of it.
In this post, we break down the pros and cons of each layer — from sound deadening to breathable insulation to vapour barriers — and help you avoid the most common pitfalls. We also recommend top-rated products to build a smarter, quieter, and longer-lasting van conversion.
Big-picture takeaway
Think of your van walls as a three-layer puzzle:
-
Damping layer (optional): heavy, sticky mats that stop the metal from vibrating
-
Insulation layer: something fluffy or foamy to slow heat flow and absorb some noise
-
Interior lining: carpet, ply, or panelling that you actually see and touch
Whether you add a vapour barrier (a sheet of impermeable plastic or foil) is a separate moisture-management choice that affects every other layer.
1. Carpet straight onto bare steel
| Upsides | Downsides |
|---|---|
| Fast & cheap – glue it and go | Condensation magnets – moisture builds behind the carpet and can’t escape |
| Zero thickness – keeps max interior width | Cold in winter, hot in summer |
| Lightweight | Road noise and vibrations remain |
| Easy to remove for repairs | Trapped moisture can cause hidden rust |
When it makes sense: Short-term builds, dry climates, trades vans with minimal overnight use.
2. Add sound-deadening (CLD/butyl) first
Pros:
-
Reduces rattles and metal resonance (10–15 dB improvement)
-
Very thin (~2 mm), doesn’t absorb water
-
Adds thermal mass benefits
Cons:
-
Adds 15–25 kg weight if fully applied
-
Costs around £125–£250
-
Doesn’t block airborne noise (voices, horns)
3. Thermal insulation
| Benefit | Caveat / Fix |
| Comfort – warmer in winter, cooler in summer | Takes up space (25–50 mm) |
| Lower heating/cooling costs | Use flame-retardant materials |
| Better sound absorption | Gaps reduce performance |
| Helps reduce condensation | Needs proper ventilation or risk mould/rust |
Common insulation types:
-
3M Thinsulate SM600L – lightweight, self-adhering, great performance
-
Havelock Wool – renewable, breathes naturally, holds moisture safely
-
Foil-faced foam (e.g. Thermo-Liner) – easy to install, okay for radiant heat
-
Polyiso boards – high R-value per mm, but rigid and can squeak
4. Vapour barrier – Yes, No, or Partial?
Why people add one:
-
Prevents interior moisture reaching cold van skin
-
Common in home construction, so feels "correct"
Why many van builders skip it:
| Issue | Detail |
| Impossible to fully seal | Moisture sneaks behind and condenses |
| Trapped water can’t escape | Van flex causes seals to fail over time |
| Adds cost & labour | Benefit is debatable in well-ventilated vans |
| Harder to service later | Wiring or upgrades become tricky |
Middle-ground options:
-
Use breathable insulation (wool or Thinsulate) instead
-
Add vapour barrier only in splash zones (e.g., shower)
-
Use a “smart membrane” that breathes both ways
Putting it together
| Layer choice | Best for | Likely pain points |
| Carpet only | Budget builds in warm/dry areas | Poor insulation, noise, hidden rust |
| Sound-deadening only | Delivery or stealth builds | No thermal comfort |
| Sound-deadening + insulation | Full-time use in UK | Needs airflow and more labour |
| Add vapour barrier too | Extreme cold or high-altitude | Hard to install and risky if not perfect |
Practical Tips
-
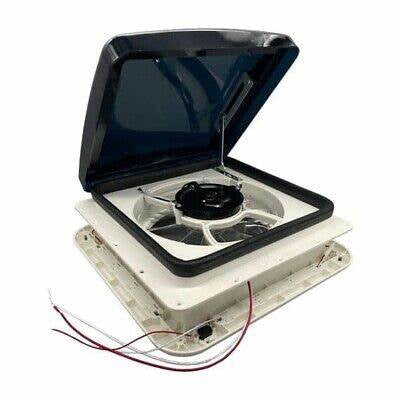
Ventilation beats perfection – a roof fan + cracked window does more than a sealed wall
-
Use 25–30% sound-deadening coverage – focus on big flat panels and wheel arches
-
Use high-temp adhesives and foil tape – rated -30°C to 90°C
-
Inspect yearly – check behind panels with light or camera for rust or mould
-
Build for serviceability – never fully seal walls you’ll need to access later
Bottom line
You can skip insulation and just carpet the steel, but you’ll sacrifice comfort, sound quality, and long-term durability.
Best approach for most UK vanlifers:
Selective sound damping + breathable insulation + good ventilation — no full vapour barrier.
Recommended Products for Campervan Insulation & Soundproofing
Upgrade your build with trusted, tested gear. These are the brands we rate — based on real installs, not just reviews.
Sound Deadening (CLD Mats) Buy on Amazon UK
-
Dodo Mat DEADN Hex (UK favourite)
-
Noico 2mm Sound Deadener (budget USA option)
-
Silent Coat Bulk Pack
Insulation Buy on Amazon UK
-
3M Thinsulate SM600L (best for vans)
-
Havelock Wool Van Packs (natural + moisture regulating)
-
Thermo-Liner Pro (Foil-faced foam)
Vapour Barriers & Adhesives Buy on Amazon UK
-
ThermaWrap Foil VB Membrane
-
3M 90 High Temp Spray Adhesive
-
Aluminium Foil Tape (seal overlaps)
Acoustic Liner (Extra Sound Absorption) Buy on Amazon UK
-
Dodo Thermo Liner (6mm or 10mm)
-
Car Builders Mass Noise Liner
As an Amazon Associate, we earn from qualifying purchases — but every penny helps us support free van build resources, new product testing, and better solutions for UK tradespeople.
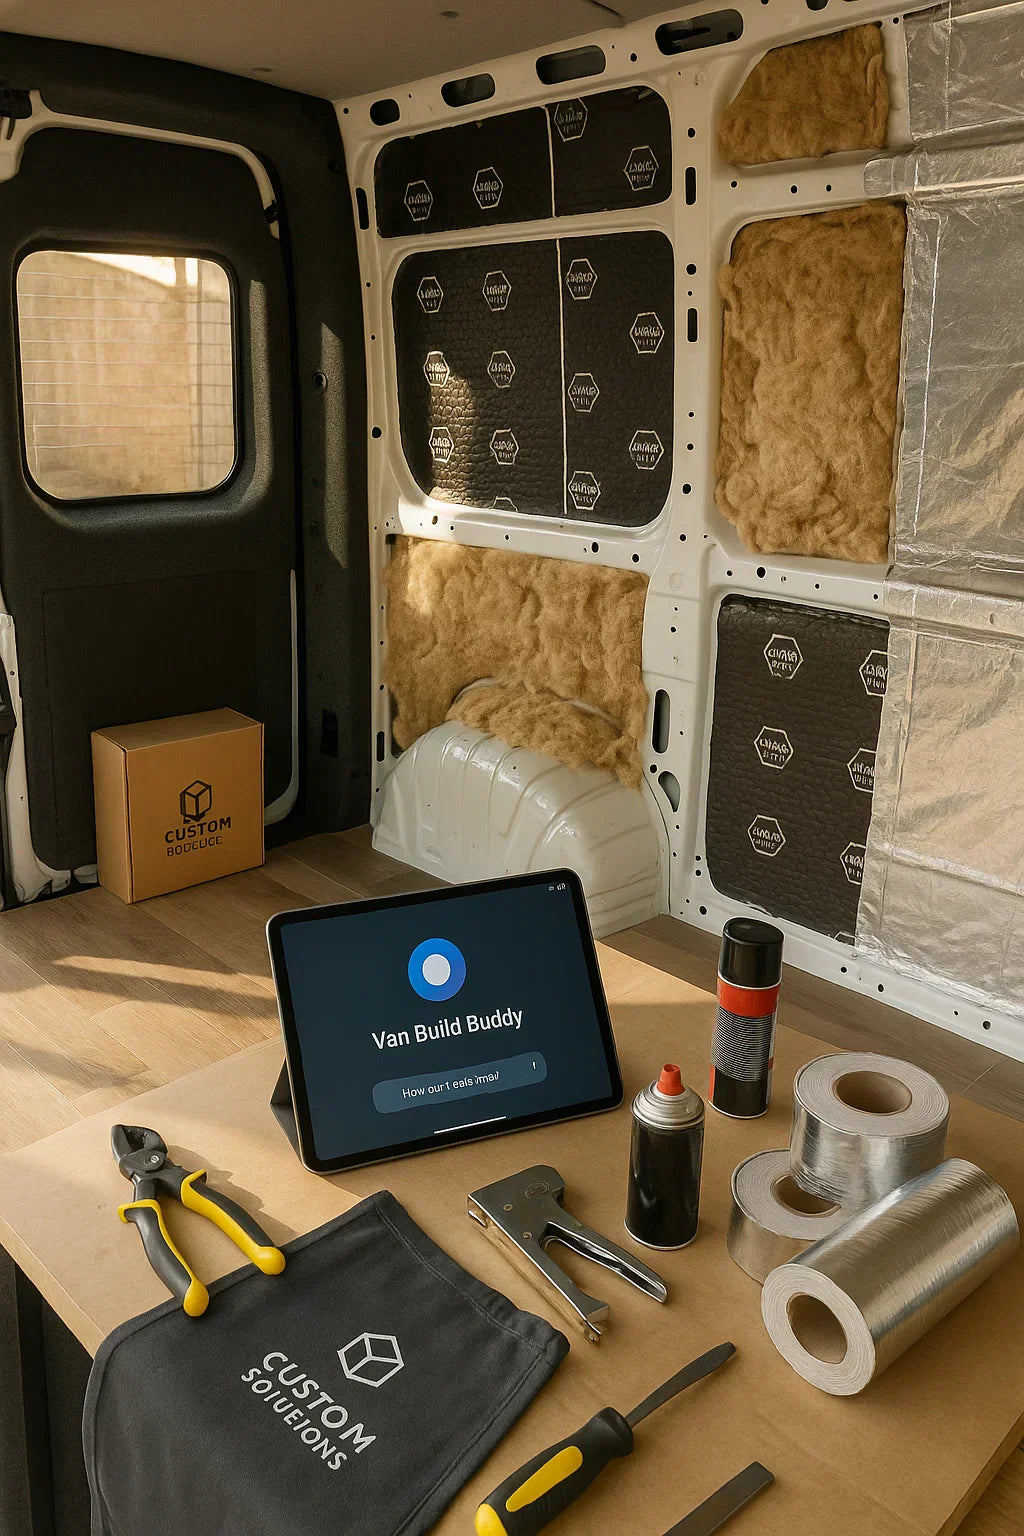
Built with Help from Van Build Buddy
Every guide, product pick, and checklist we share has been shaped by real-world experience and the evolving knowledge of our Van Build Buddy — our custom built assistant trained specifically for van builds, planning and more you think it we have the answers.
Need help planning your own van setup?
Try Van Build Buddy now and get instant help including full build information..

AI generated images